Paint works miracles; some of the most transformative projects I've done have simply been paint! Painting kitchen cabinets can seem like a daunting task, but its one of the most cost effective ways to update your kitchen, typically the most expensive room in a house to update. When painting kitchen cabinets, the prep work is essential to creating a lasting, pristine finish – do not skimp on this step!
Before
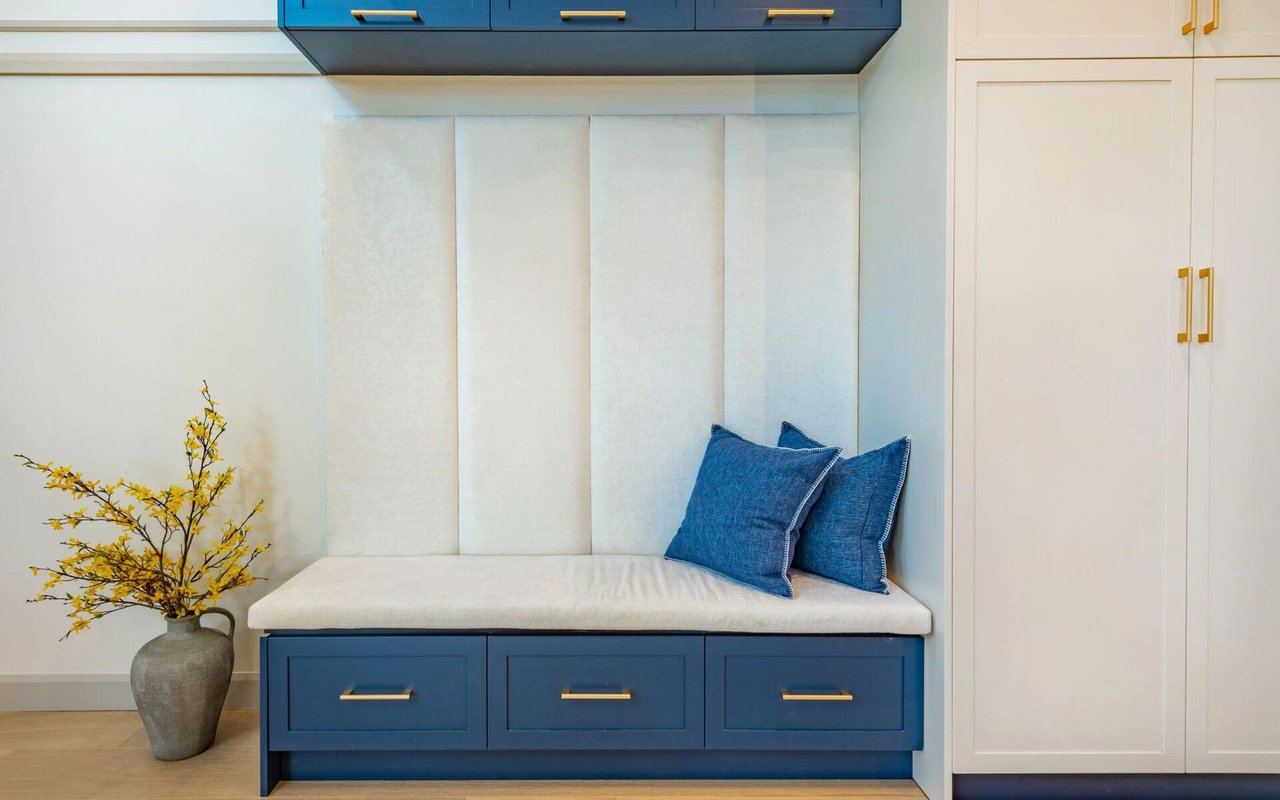
After
Supply List:
- Sandpaper
(80 grit through 220 grit)
- TSP Cleaner
- Tack Cloths
- Plastic / Drop Cloth
- Painters Tape
- Paint Brush
- Paint Roller
- Paint Roller Tray
- Paint Cup
-
Primer (Zinsser Bin Shellac is my recommendation)
-
Paint (Sherwin-Williams – Emerald Urethane Trim Enamel is my recommendation)
Step 1: Clear out the Cabinets and Remove Doors
To prep for painting, first clean out your cabinets completely and remove all cabinet doors. When removing doors it can be helpful to label the door locations and even the hinges, if you're planning to reuse them. This makes putting your cabinets back together run smoothly.
Step 2: Cleaning
Ok one last time, it can be tempting but do not skip the prep! First clean your cabinets with TSP. This is especially important for kitchen cabinets as TSP is a heavy duty cleaner that helps remove grease. If you need convincing that your cabinets likely have a bit of grease and grime on them – check out what I discovered on mine!
Step 3: Sanding
Depending on the condition of your cabinets you may just need a light sand. But if your cabinets have a thick lacquer on them more extensive sanding will be required.
For cabinets needing a light sand: Start with 100 or 120 grit and work your way up to 220 grit to finish. For cabinets needing more extensive sanding: Start with 80 grit and similarly work up to 220 grit.
Now, if you're painting cabinets in the midst of a larger kitchen renovation this is probably when it’s looking like a complete dusty WRECK. Don't panic, it always gets worse before it gets better. Try to smile amidst the chaos!
Step 4: Remove Dust
Once sanding is complete, remove all dust from your surface by vacuuming the surface with a shop vac then wiping down thoroughly with a tack cloth. Painted dust clumps up and creates bumps in your paint finish, removing as much dust as possible will improve your final finish.
Step 5: Tape & Protect Surfaces
If you did not remove your cabinet bases to paint now is the time to tape off all walls and protect any surfaces you don't want painted with plastic.
Step 6: Prime
Finally we're to the fun part! Painting! Choosing a primer is a key decision, primer helps bond your paint to the surface. It can be tempting to skip this step and go straight to painting but without a primer your cabinets will be a chippy mess and the quality of your finish will suffer.
For cabinets my favorite primer is Zinsser Bin Shellac. The shellac primer is effective at blocking any old stains/wood from bleeding through and does an excellent job of self-leveling to provide a pristine surface to paint on.
I prefer a hand painted finish on my cabinets, particularly when renovating an older home. When hand painting, be sure to choose high quality, clean rollers and brushes. I do not recommend using any brushes/rollers that have been used before – for the best finish a brand new brush/roller is best. Choose brushes and rollers that are for fine finishes, my personal favorites are:
Wooster Pro – Shed Resistant Woven Roller
Painting multiple thin coats will always be more effective than one heavy coat of paint. Do not overload your brush or roller with paint, this will also give you more control over paint.
One last tip – these Painters Tripods prop up cabinet doors off the floor when painting making reaching edges so much easier!
Step 7: Paint
Now that you've completed all the essential prep work this last step should be a breeze. My favorite paint for cabinets/furniture is Sherwin-Williams Emerald Urethane Trim Enamel in Satin Finish.
Before painting give your primer coat a light sand with 220 grit sandpaper, remove dust with your shop vac and tack cloth. Paint a thin coat of your new cabinet color, let dry and repeat sanding between each coat of paint. Typically, 2-3 coats are needed for full paint coverage and a pristine finish.
Step 8: Reinstall cabinet doors
Wait for your cabinet doors to fully dry before reinstalling to avoid smudging paint. Using the labels you put on the hinges and doors at the beginning, reinstall your cabinet doors. Congrats you're all done! Enjoy your refreshed cabinets.
Shop this project!